A motor field trip..

You've already read some of the exploits of our leading motor man, Jim Husted of Hi Torque Electric, but we've yet to meet the wizard. Jim's been reporting a lot of progress, so I took the opportunity to roll down to Redmond last Friday for a look see, and to sign off on some final design specs. To start off, this build began with an excellent core, a 1996 model 9" ADC motor, which lived an easy life pumping forklift hydraulics until the day that it's female splined shaft split open. Disassembly revealed no zorch marks or signs of overheating, so the motor probably could have been pressed back into service with only a replacement shaft. But no, it's only the best for Karmann Eclectric! To shorten this motor for easier placement in the Ghia tail section, Jim identified two inches of unused space inside the case and on the shaft, as shown below.

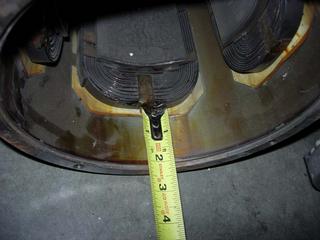
But wait, isn't that space needed for the fan and air circulation? Not really. Empty space of this magnitude doesn't help cooling a bit, and the fan was an extremely inefficient centrifugal blower, with rough-cast square vanes, mold release sprue and "aluminum ooze" nearly completely blocking several air passages. These blades will be hand-ground for aerodymamic efficiency, and the blower will be balanced for smooth operation. Through truing the fan, we can afford to shave a little length off of the collar that press-fits onto the shaft.
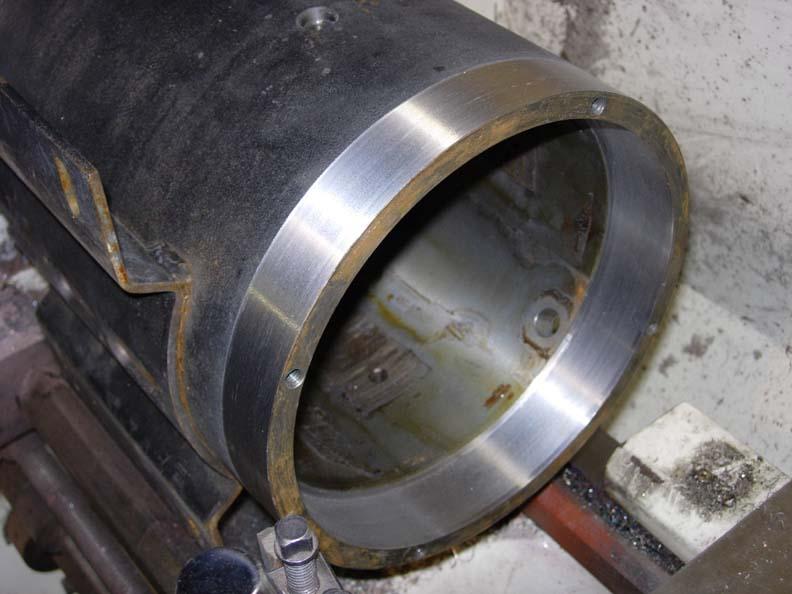
But the fan will be dealt with later. The case is our biggest challenge. This long beast needs to be cut down to size, and fortunately enough, Jim's lathe was barely big enough to get a good bite. However, our decision to leave the original motor mounting bracket in place nearly came back to bite us, as that sharp steel angle spinning only inches from our favorite machinist's hand threatened not only his safety, but the accuracy of his work, if the imbalanced piece were to migrate off-center. However, slow and steady cutting produced fine results over the next six hours.

Almost there.....
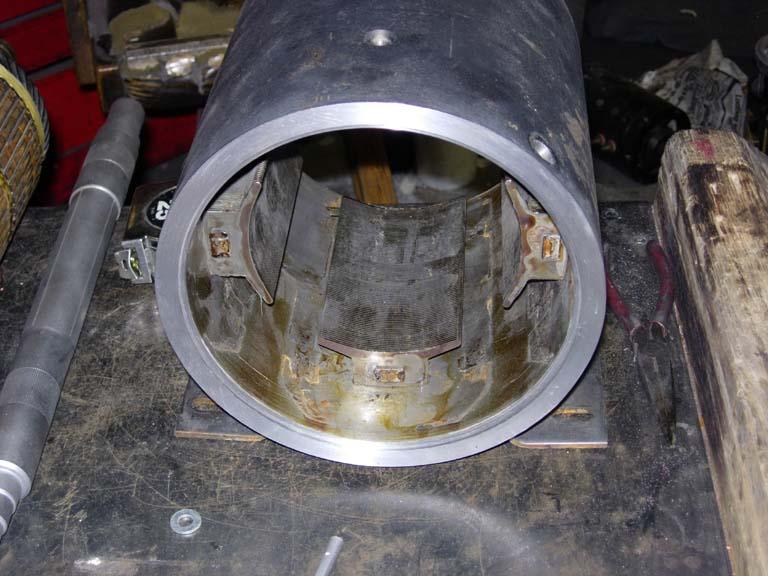
Finally, we have a shortened case, and enough steel spaghetti to secure the county jail.

So now this 9" motor case and endplates measure at 15 inches long, or only 1/4" longer than a stock 8" ADC, and 1 7/16" shorter than a stock dual shafted 9" motor. The adaptor is 3 1/2 inches deep, so we haven't quite made our goal of 18" after a dry-fit to confirm clearances, or lack thereof, so the next shortening method to consider will be the Reverend Gadget Flywheel Technique (which would require a lot of machining and some VERY precise welding. Dunno yet how feasible, let alone worthwhile that will be on this project. I may yet resort to cutting motor clearance into my precious antique German sheet metal (like EVery other aircooled VW conversion I've seen thus far).
Back to the EVents at hand. Jim also shaved down the motor endbells (aka: end plates), and in the process machined a press-fit centering ring on each end, making the plates pop on and stay stuck on the bench with nary a bolt. How's that for precision work!
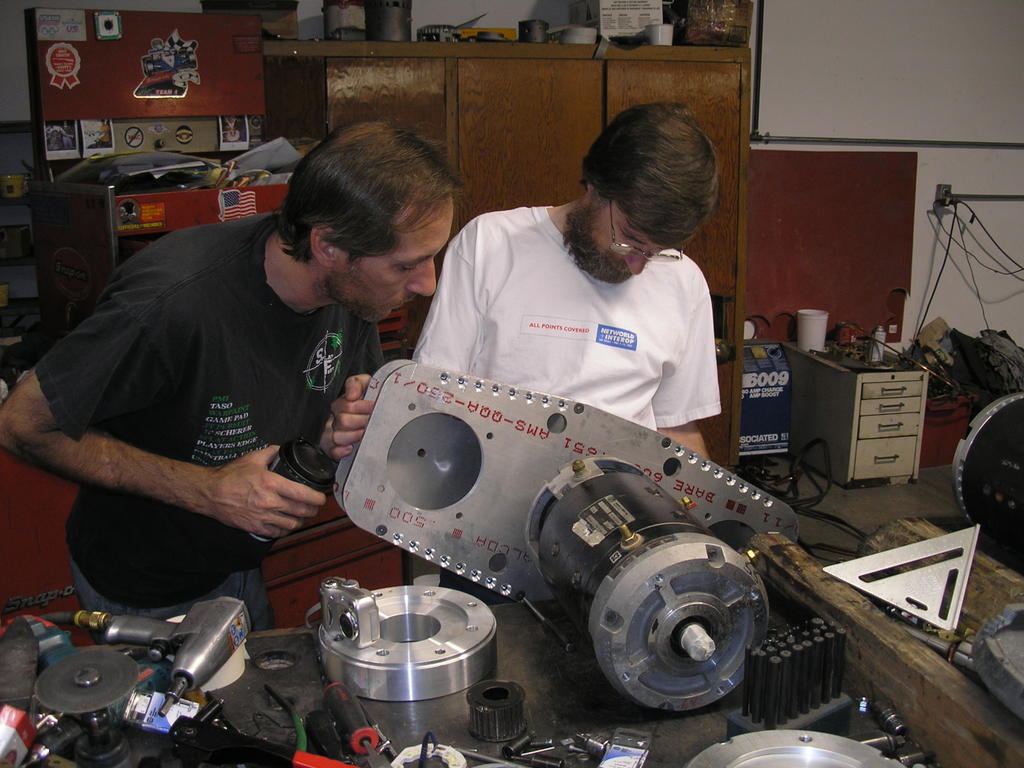
The man and his machine are of course, introduced in our opening photo.
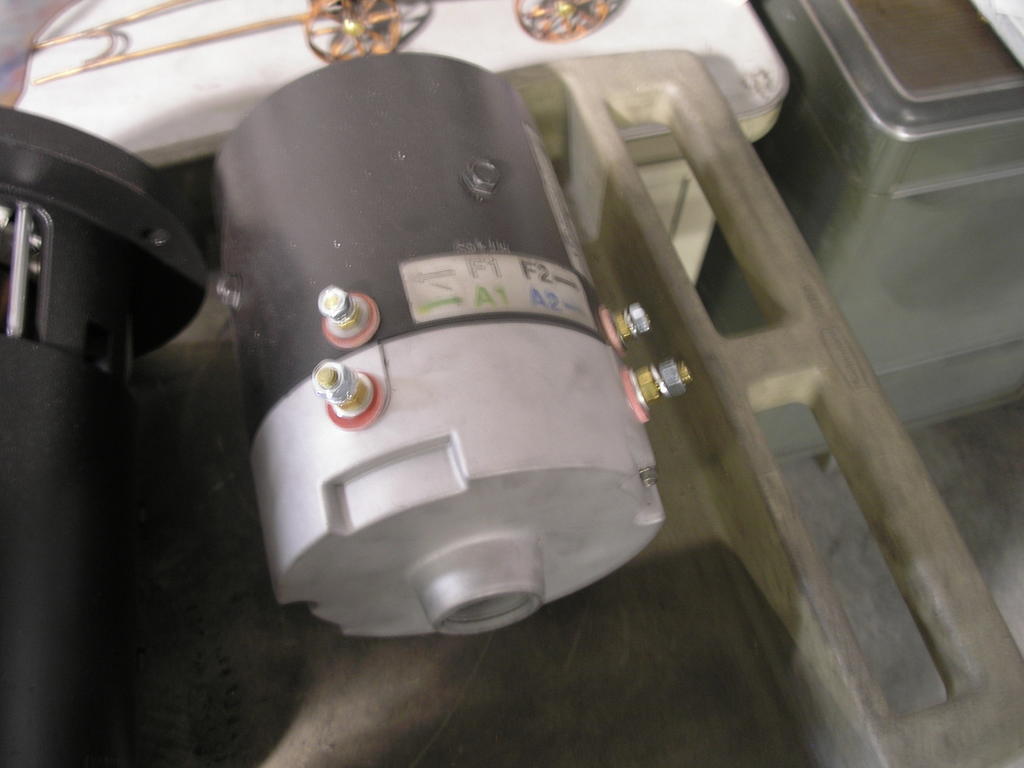
The main decision of our day involved locating the motor's wire connections, or terminal posts.
Most EV-sized series DC motors have four posts, with one set at each end for the armature and series windings, and these two may be as much as 180 degrees apart from each other, as shown in this excellent schematic by Cloud Electric. I decided to cluster all four on the tail end of the motor, in a position as to not interfere with the original mounting bracket and possible accessories, yet easily accessible for maintenance, modification, and voltage measurement.
Here's a small golf cart motor with terminal
layout similar to what the Karmann Eclectric
will be sporting. Terminals S2 and A2 will be connected by a short busbar, instead of a wire stretching across the entire motor. Of course, placing the terminals so close together may increase the risk of an accidental short, so some shielding material between the posts may be in order.
Doug Weathers joined our shop session, and took to test-fitting the various adaptors I've acquired for possible usage in the Karmann Eclectric. Here, he and Jim are figuring out the trimotor adaptor originally intended for the Ghia Monster. It's a beautiful piece of machining, but besides being overkill for Karmann Eclectric 1.0, this design didn't take advantage of the motors' C-face mount, which is essentially a press-fit ring on the motor endbell. Instead, it relies only on the motor bolts for centering, which may be slightly less robust. Anyway, the 9" Electro Auto version shown next is simpler, has a perfect C- face mount, and will keep things clean (at least untill I go overboard on accessory drives). The trimotor adaptor goes back into the reserve bin...

Our last order of the day involved cosmetic concerns. Marko Mongillo's Prestolite rebuild for the Fiamp was in line right in front of me, and luckily enough, he served as the Guinea Pig for fun with powdercoating. Learning from a bit of rework on Marko's motor, we were confident to coat the endbells in a Mercedes Silver powder, that should give a finish very close to the original aluminum sheen, but much more durable, shiny, easily cleaned, and electrically insulated. For the motor body, we custom ordered a batch of Zilla Green, to match Otmar's fine controllers, which the Karmann Eclectric absolutely must have. For optimal appearance, my motor didn't need the orange peel and ground-off welding seam that industrial motor cases show, so we decided to machine down the outer surface just enough to get everything smooth, while also truing up the cylinder. This may also provide an immeasurably small efficiency benefit by evening out the magnetic fields. But wait, how can we turn the motor case with that big bracket welded to the side? Okay, time to cut it off. Before cutting it off, Jim will drill and tap four new mounting holes for the bracket, and to keep the steel symmetrical and provide yet another option for accessory mounting, four mirror-image holes will be installed on the opposite side of the motor.
So, we should soon have a shiny and smooth Zilla green motor case with slick silver endbells. All that's left to do is decide on the length of that pesky, but hopefully useful tailshaft.....
posted by Jay Donnaway @ 6:00 AM
1 comments
![]()
![]()

1 Comments:
Motor shortening...great!
I always wondered how effective the vanes in the ADC 9" were.
All the best on your project.
-Jerry
EVConvert.com
Post a Comment
<< Home